Hey Y’all! I hope you had a great holiday and ate lots of good, home cooked food! We always have a feast at our house and all the family comes over to eat. They don’t have to bring a thing, except empty stomachs and perhaps stretchy pants! Ha! We have a lot of fun eating, playing games and singing Christmas Carols while playing the Ukulele! We are experts by the time Christmas comes because we’ve been practicing off and on since September for the Memphis Ukulele Flash Mob! We perform anywhere people will have us and we do it all for free. It’s a lot of fun and it makes others happy (which makes us happy people too!).
After all the preparations for Christmas, I am always ready to move on to New Years. Take down the decorations, eat all the leftovers and get organized for the new year. Cheddar Cheese Grits are a mainstay then.

We make them to eat with leftover ham and Turnip Greens or for New Years Eve with Black Eye Peas and Mixed Greens so we’ll have good luck. For years, my Mom has made them with Kraft Old English Cheddar. My grandmother often used Kraft Garlic Cheese Roll before they discontinued making it. This year, we used a less expensive alternative and subbed with Happy Farms Spreadable Sharp Cheddar Cheese from Aldi. At $2.49 a tub, it went a lot further but still had the same great taste. Try it out for yourself and read the recipe below! It is certain to be a crowd pleaser for your weeknight family dinner or New Year’s Eve party!
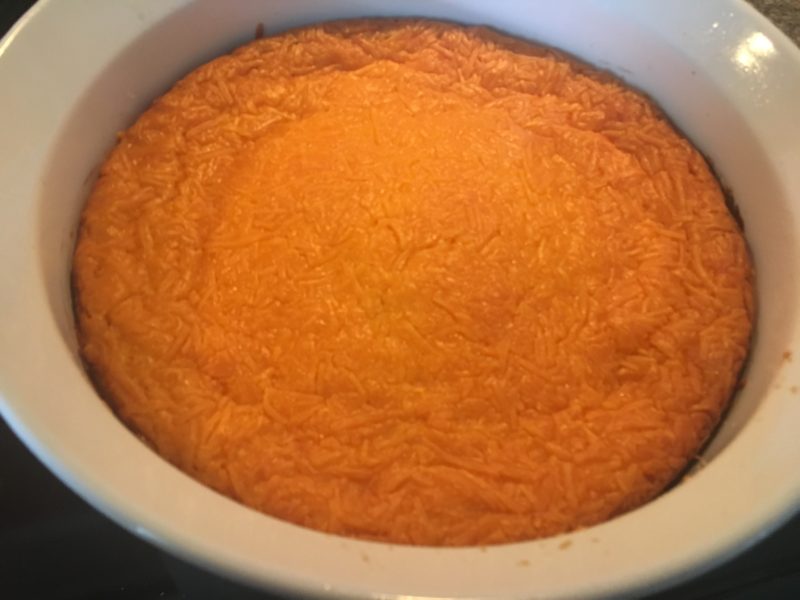
Cheddar Cheese Grits
A warm cheesy delight for your family and friends to share!
Ingredients:
- 3/4 cup whole milk
- 1 egg, beaten
- 3/4 Tbsp fresh garlic, peeled and minced
- 4 cups chicken broth
- 2 cup quick grits
- 1/2 stick of butter
- 14 oz Happy Farms Spreadable Sharp Cheddar
- Optional: shredded cheddar or breadcrumbs TT
Directions:
Preheat oven to 350 degrees F. In a mixing bowl, combine milk, egg, minced garlic. In a saucepan, bring chicken broth to a boil and add grits. Stir until grits are thick and glossy. Remove from stove top and add butter and 1/2 of spreadable sharp cheddar. Pour grits into a oven safe baking dish (I used a 9 inch round Corningware dish.) Using a small amount of the hot grits and part of the aforementioned egg mixture, *temper the eggs before adding entire egg mixture to grits. This will prevent scrambling and maintain proper consistency in your grits. After tempering, pour entire egg mixture into grits and add remaining cheese spread. Stir until thoroughly combined. Top with shredded cheddar and/or breadcrumbs if desired. Bake in the oven for 60 minutes and cool for 30 minutes before service. Serve warm with mixed greens, ham, or black eyed peas or store for breakfast (or any other planned meal) in refrigerator for up to 3-5 days in an airtight container.
Chef Tip: If Yellow Grits are available in your local grocery, it makes the dish much prettier and more colorful. Enjoy!
*Tempering – a method of raising the temperature of a room temperature substance slowly by adding small amounts of hot/boiling liquid in order to maintain consistency and texture. Ex. tempering eggs so they will not scramble, tempering chocolate so it will not separate or “sugar”